The Purchases settings page (accessed by clicking the settings menu (⚙️)) is where you can:
choose the default layout type for your bills and purchase orders
view the remittance advice template
set up your remittance advice and purchase order emails.
Choose a layout type
Depending on whether you buy stock items or services, you can choose the layout type that shows only the columns you actually use when recording a bill or purchase order.
On the Layout tab of the Purchases settings page, you can choose the default layout that best suits your business. You can always choose a different layout when entering your bills and purchase orders.
In the top right corner of MYOB, click the settings menu (⚙️) and choose Purchases settings to open the Purchases settings page.
Click the Layout tab.
Choose your preferred Field layout.
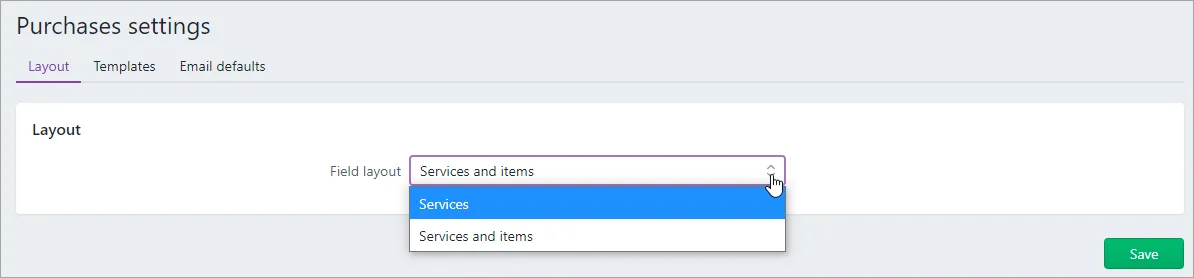
Services - allows you to enter a description of the services you're purchasing on each line of your bills and purchase orders, and the Item ID, No of Units, Unit price and Discount (%) columns will not be displayed. This gives you a simple, clean look for date-based or professional services, or if you want to write a different description for each of your purchases. Use this layout if you only buy date-based professional services and don't need quantities or items.
Services and items - allows you to select items that you've set up in MYOB on each line of your bills and purchase orders, or enter a description of what you're buying. Using this layout will display the Item ID, No of Units, Unit price and Discount (%) columns in your purchases. Use this layout if you've created items and need to show quantities or hours, or your bills and purchase orders need to contain items and/or services.
When you're done, click Save.

The chosen layout will be used for all your bills and purchase orders unless you change when entering your bills and purchase orders using the field layout () icon:

View your remittance advice template
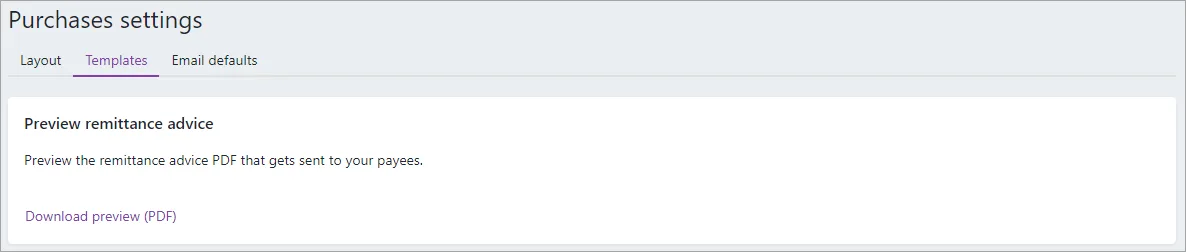
On the Templates tab of the Purchases settings page, you can see the template used for the PDF remittance advices sent to your suppliers.
Click the settings menu (⚙️) and choose Purchases settings to open the Purchases settings page.
Click the Templates tab.
View your remittance advice templates.
Click Download preview (PDF) to see a sample of this template.
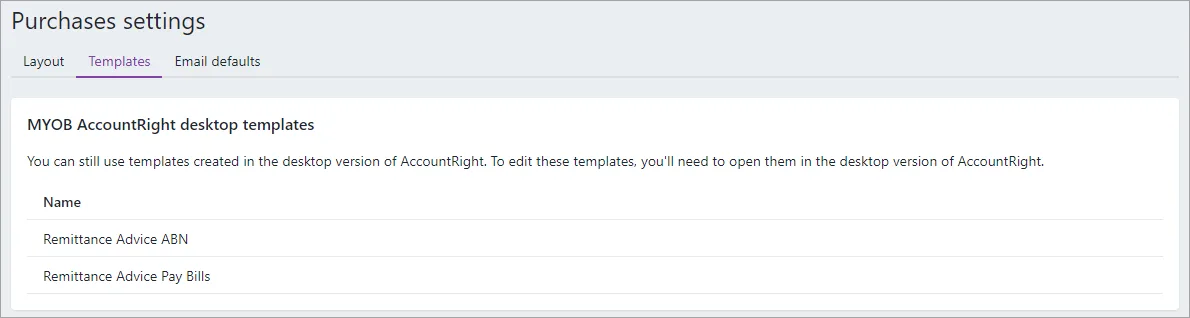
If you're accessing an AccountRight company file in a browser you'll see the remittance advice templates available for you to use. You can edit these in your AccountRight software.


Set up your purchase email defaults
On the Email defaults tab of the Purchases settings page, you can set up your remittance advice and purchase order emails. This saves time when emailing, and you can always enter a different subject or message when you send your emails.
Click the settings menu (⚙️) and choose Purchases settings to open the Purchases settings page.
Click the Email defaults tab.
Enter the From name and Reply-to email address. These will apply to all emails sent on your behalf from MYOB. This includes invoices, quotes, purchase orders, remittance advice and pay slips.
Edit your default email Subject and Message for your purchase orders and remittance advices.
(Optional) Select the option Include purchase order number in subject.
Click Save. Any changes you've made will be applied every time you send a purchase order or remittance advice.

You can use the purchases features to:
record quotes, orders and bills
view your purchase history
see what you owe your suppliers.
Do you need to do this task?
If you want to record the orders and purchases you make with suppliers and track the amounts you owe, you need to set up the purchases features.
If you need some help, book a 30-minute session with an expert to help you get started – it's all part of AccountRight Priority Support.
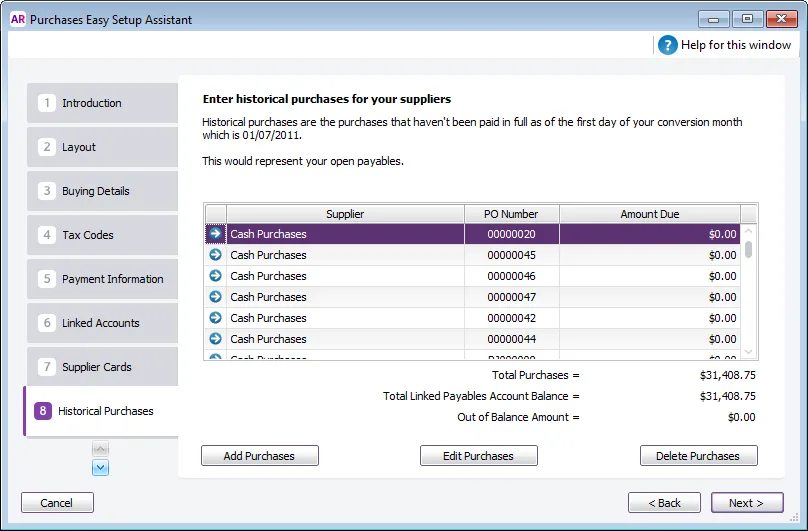
You can use the Purchases Easy Setup Assistant to enter your supplier details and set your default settings. To access the Purchases Easy Setup Assistant, go to the Setup menu, choose Easy Setup Assistant and then click Purchases.

Using the Purchases Easy Setup Assistant you can enter the following details:
Supplier details Create a card record for each of your suppliers and enter details such as their addresses and phone numbers.
Historical (pre-conversion) purchases If you had outstanding bills to pay on the first day of your conversion month, you will need to record their details, such as outstanding bill amounts and the credit terms. Later, you'll be able to record payments against these bills.

You can also choose:
the payment method you normally use to pay bills
your preferred purchase order layout
settings that will help you record purchases faster. These settings will automatically apply to cards you create for your suppliers; however, you can change them as required.
Optional purchases setup tasks
In addition to the Purchases Easy Setup Assistant tasks, you may also want to do the following tasks if they are relevant to your business.
Task |
| See |
|---|---|---|
Customise forms | Change the appearance of the default purchase orders, remittance advices, and other forms. | |
Import cards | Import supplier information from another company file, another accounting system, a spreadsheet or a text file. | |
Synchronise supplier records with Outlook | Synchronise your supplier card records with your contact records in Microsoft Outlook. | |
Group cards | Use identifiers and custom lists to group the cards of suppliers who have similar attributes. | |
Enter pre-conversion deposits | If you've paid deposits to suppliers prior to staring your new company file. | |
Store your supplier bills online | You can store the bills you receive from your suppliers online, with your accounts. Just add them to your In Tray! |